Time seems to galloping by and still lots to do getting the kitchen garden ready for the 2025 growing season. Some little jobs like making plant labels from margarine tubs ...
 |
| Photo 1: Homemade Plant Labels |
to clearing out the polytunnel ...
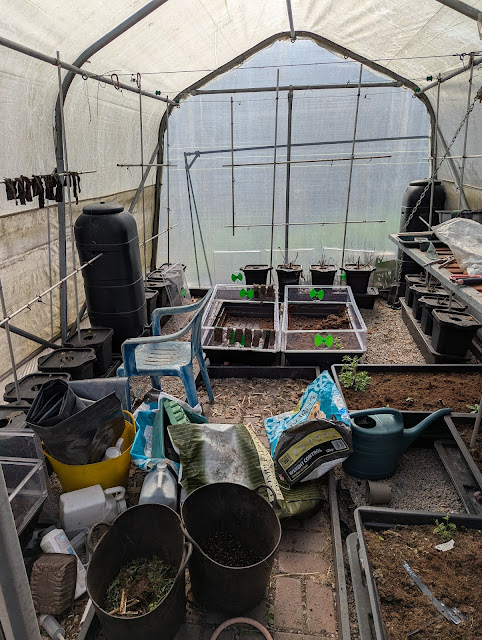 |
| Photo 2: Polytunnel before Clearing Out |
As usual in the garden, jobs need to be done in a certain order because you can't do A before you've done B. One of the first things to sort out was the compost bins. During the 2024
Black Friday event, I treated myself to a new HotBin composter ...
 |
| Photo 3: HotBin Waiting to be Unpacked |
Mary had made a few noises about how she would like to use the summerhouse for its intended purpose. So on 10
th March I unpacked the HotBin and its base unit ...
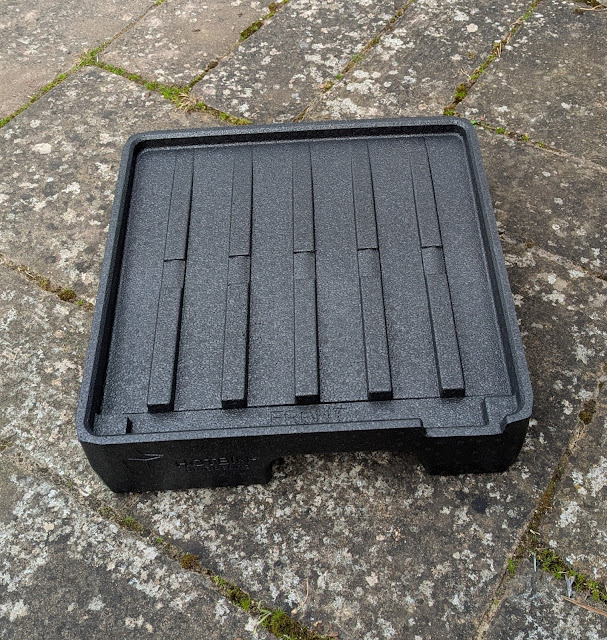 |
| Photo 4: HotBin Base Unit |
 |
| Photo 5: HotBin on its Base Unit |
The HotBin comes with an instruction manual (including composting tips) and a few accessories: a rake for removing finished compost, a hot water bottle, straps for securing the hatch and a short (10 cm) probe thermometer for checking compost temperatures. There is a built-in thermometer in the HotBin lid - useful as a qualitative indicator that the Hotbin is working but not a quantitative measure of the compost temperature. I use 50 cm, 30 cm and 10 cm probe thermometers to accurately monitor compost temperatures at various depths.
 |
| Photo 6: HotBin Accessories |
I installed the new HotBin next to my antique Hotbin (about 10 years old) and started to fill it immediately:
 |
| Photo 7: New and Old Hotbin |
Unfortunately, a series of cold nights, too much hard-to-compost woody garden waste and a lack of easily-compostible 'green' waste meant the Hotbin never took off thermally. The top 10-20 cm achieved temperatures between 50 ℃ and 55 ℃ while the 20-40 cm depths hovered around 40 ℃ to 45 ℃. At compost depths below 40 cm, temperatures were only 25 ℃ to 35 ℃. At the beginning of April, I decided to stop adding fresh waste and restart the hot composting process again. I emptied one of my Supercomposter Bins which had been storing composted material from my old HotBin prior to tansferring to one of my maturation bins ...
 |
| Photo 8: Supercomposter Bin |
... and refilled it with the partially composted waste from the new HotBin. In order to empty the Supercomposter bin, I had to first empty one of my maturation bins (Photo 9) where the final 'polishing' stage of the composting process takes place (typically a further six months storage before use in the garden).
 |
| Photo 9: Three of My Four Maturation Bins |
Compost from the maturation bins is either
sieved (for use in potting compost media or when a aesthetically pleasing mulch is required) or used direct as a mulch. The former was not an option as time was limited. Consequently, the compost (soil improver) was spread on the asparagus patch (
Photo 10) ...
 |
| Photo 10: Asparagus Patch Mulched with Soil Improver |
... the apple and plum tree orchard (
Photo 11) ...
 |
| Photo 11: Apple & Plum Trees (with raspberries) |
... and the main raspberry bed (Photo 12) ...
 |
| Photo 12: Main Raspberry Plot |
Finally, the contents of the Supercomposter could be transferred to the empty maturation bin so that the partially composted material from the new HotBin could be moved to the now empty Supercomposter. The old Hotbin (Photo 7) had run continuously for over a year (372 days to be precise) and was also due to be emptied. Fortunately there was still some room in the recently emptied maturation bin.
 |
| Photo 13: Emptied (Old) HotBin |
The old Hotbin was cleaned using a hosepipe with the waste water allowed to soak into one of the vegetable beds. You can see from
Photo 14 that the base plate, which sits in the bottom of the HotBin to provide drainage and aeration, has
seen better days.
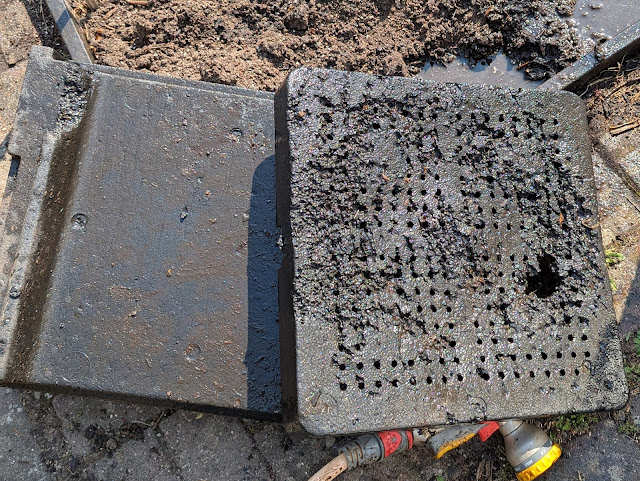 |
| Photo 14: Damaged Base Plate of HotBin |
 |
| Photo 15: Tile Covered Hole in HotBin Baseplate |
The (old) HotBin is back up and running at 60+ ℃ and being 'fed' a diet of partially-composted waste from the (new) HotBin along with freshly-mown grass and kitchen waste.
Video 1: Steaming & Hot (Compost Bin)
Meanwhile, my second Supercomposter (Photo 16) has been emptied (it used to contain shredded garden waste) in preparation for its move to a position next to the (new) HotBin ...
 |
| Photo 16: Emptied Supercomposter Ready for the Move |
... where it will be repurposed as an intermediate store between the HotBins and the maturation bins. The space created by relocating this Supercomposter will be taken my my new strawberry wall garden. More on that at a later date.
Still lots more to do but we are getting there ...


0 comments:
Post a Comment